Setting Up a Hardware Wallet for the First Time: a No-Jargon Walkthrough
What actually happens during hardware wallet setup, why the seed phrase step is the one that matters most, and the mistakes that cause the most self-custody losses.
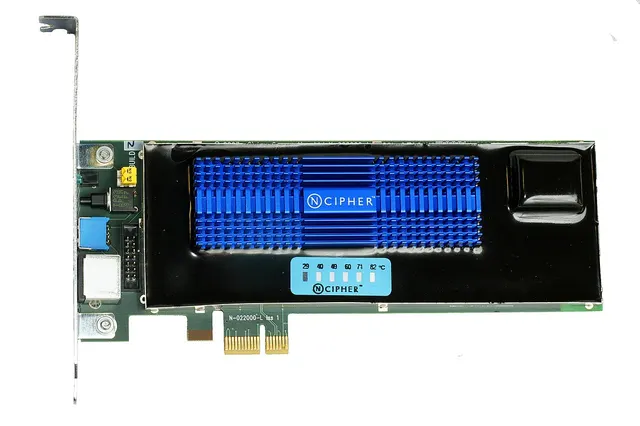

The setup process for a hardware wallet is short — usually under fifteen minutes — but almost every real-world self-custody loss traces back to one of a small number of mistakes made during or right after this exact process. Understanding what each step is actually protecting against makes those mistakes much easier to avoid.
Step one: buy from an authorized source, and check the packaging
A hardware wallet’s entire security model depends on the device being genuine and untampered before it reaches the buyer. Devices purchased secondhand, from unofficial marketplace listings, or with any sign of resealed or damaged packaging carry a real risk of having been pre-configured by an attacker with a known seed phrase, waiting for a victim to load funds onto a wallet that was never actually private. Buying only from the manufacturer directly or an explicitly authorized reseller, and checking tamper-evident packaging on arrival, removes this risk category entirely — it’s the one step that can’t be corrected later if skipped.
Step two: initialize the device and generate a new seed
The device generates a seed phrase — typically 12 or 24 words — using its internal hardware random number generator. This is the step where the 2026 Coldcard incident matters as a cautionary example: a firmware bug in one popular hardware wallet caused seed generation to silently fall back on a weaker software-based randomness source, producing seeds that were far easier to brute-force than they appeared. The practical lesson: confirm the device is running current, unaffected firmware before generating a seed, not after — a firmware update after the seed is generated does not retroactively fix a weak seed.
Step three: record the seed phrase — and only on paper or metal, never digitally
This is the single highest-stakes moment in the entire process. The seed phrase is the complete, portable representation of every private key the wallet will ever generate; anyone who obtains it has full control of the funds, permanently, with no way to revoke access short of moving everything to a new seed. Writing it into a phone notes app, a password manager, a photo, or any device connected to the internet defeats the entire purpose of using offline hardware in the first place — that seed is now one data breach or malware infection away from being stolen. The standard practice is writing it by hand on the physical backup card provided, or a fire-resistant metal backup for higher-value holdings, and storing it somewhere physically secure and separate from the device itself.
Step four: verify the seed, then test with a small amount first
Most hardware wallets include a verification step that confirms the seed was recorded correctly before finishing setup — skipping this because it feels redundant is a common mistake that only surfaces as a problem during an actual recovery attempt, when it’s too late to fix. After setup, sending a small, non-critical test amount and confirming it arrives and can be moved again is a low-cost way to catch any configuration mistake before committing significant funds.
Common mistakes worth naming directly
- Buying used or from an unverified third-party seller — the single highest-risk shortcut in the entire process.
- Photographing or digitally storing the seed phrase “just to be safe” — this is the opposite of safe; it moves the seed onto exactly the kind of internet-connected device self-custody is meant to avoid.
- Skipping the seed verification step — a recording error discovered only during a real recovery attempt can mean permanent, unrecoverable loss of funds.
- Not checking firmware status before generating a seed — as the 2026 Coldcard incident demonstrated, a seed generated under a flawed firmware version stays flawed regardless of later updates.
None of this requires technical expertise — it requires treating the seed-phrase step with the seriousness it actually warrants, since it’s the one part of the process with no support line to call if it goes wrong.
Before you assume a hardware wallet removes theft risk entirely, read where crypto actually gets stolen from, based on 2026 incident data and self-custody vs. exchange custody, a practical risk comparison.